The holidays are a time especially meant for family and friends and spending time with one another. Getting into the holiday spirit is always a fun thing to do, from hanging ornaments on the tree to singing carols, but most importantly, decorating the house from floor to ceiling.
Buying decorations can get pretty expensive, but there’s one super easy solution for that problem. DIYing allows you to create the same exact decorations as in stores, that are just as pretty for less. Here are five simple and easy DIYs that will make your house just as cute without putting a strain on your wallet.
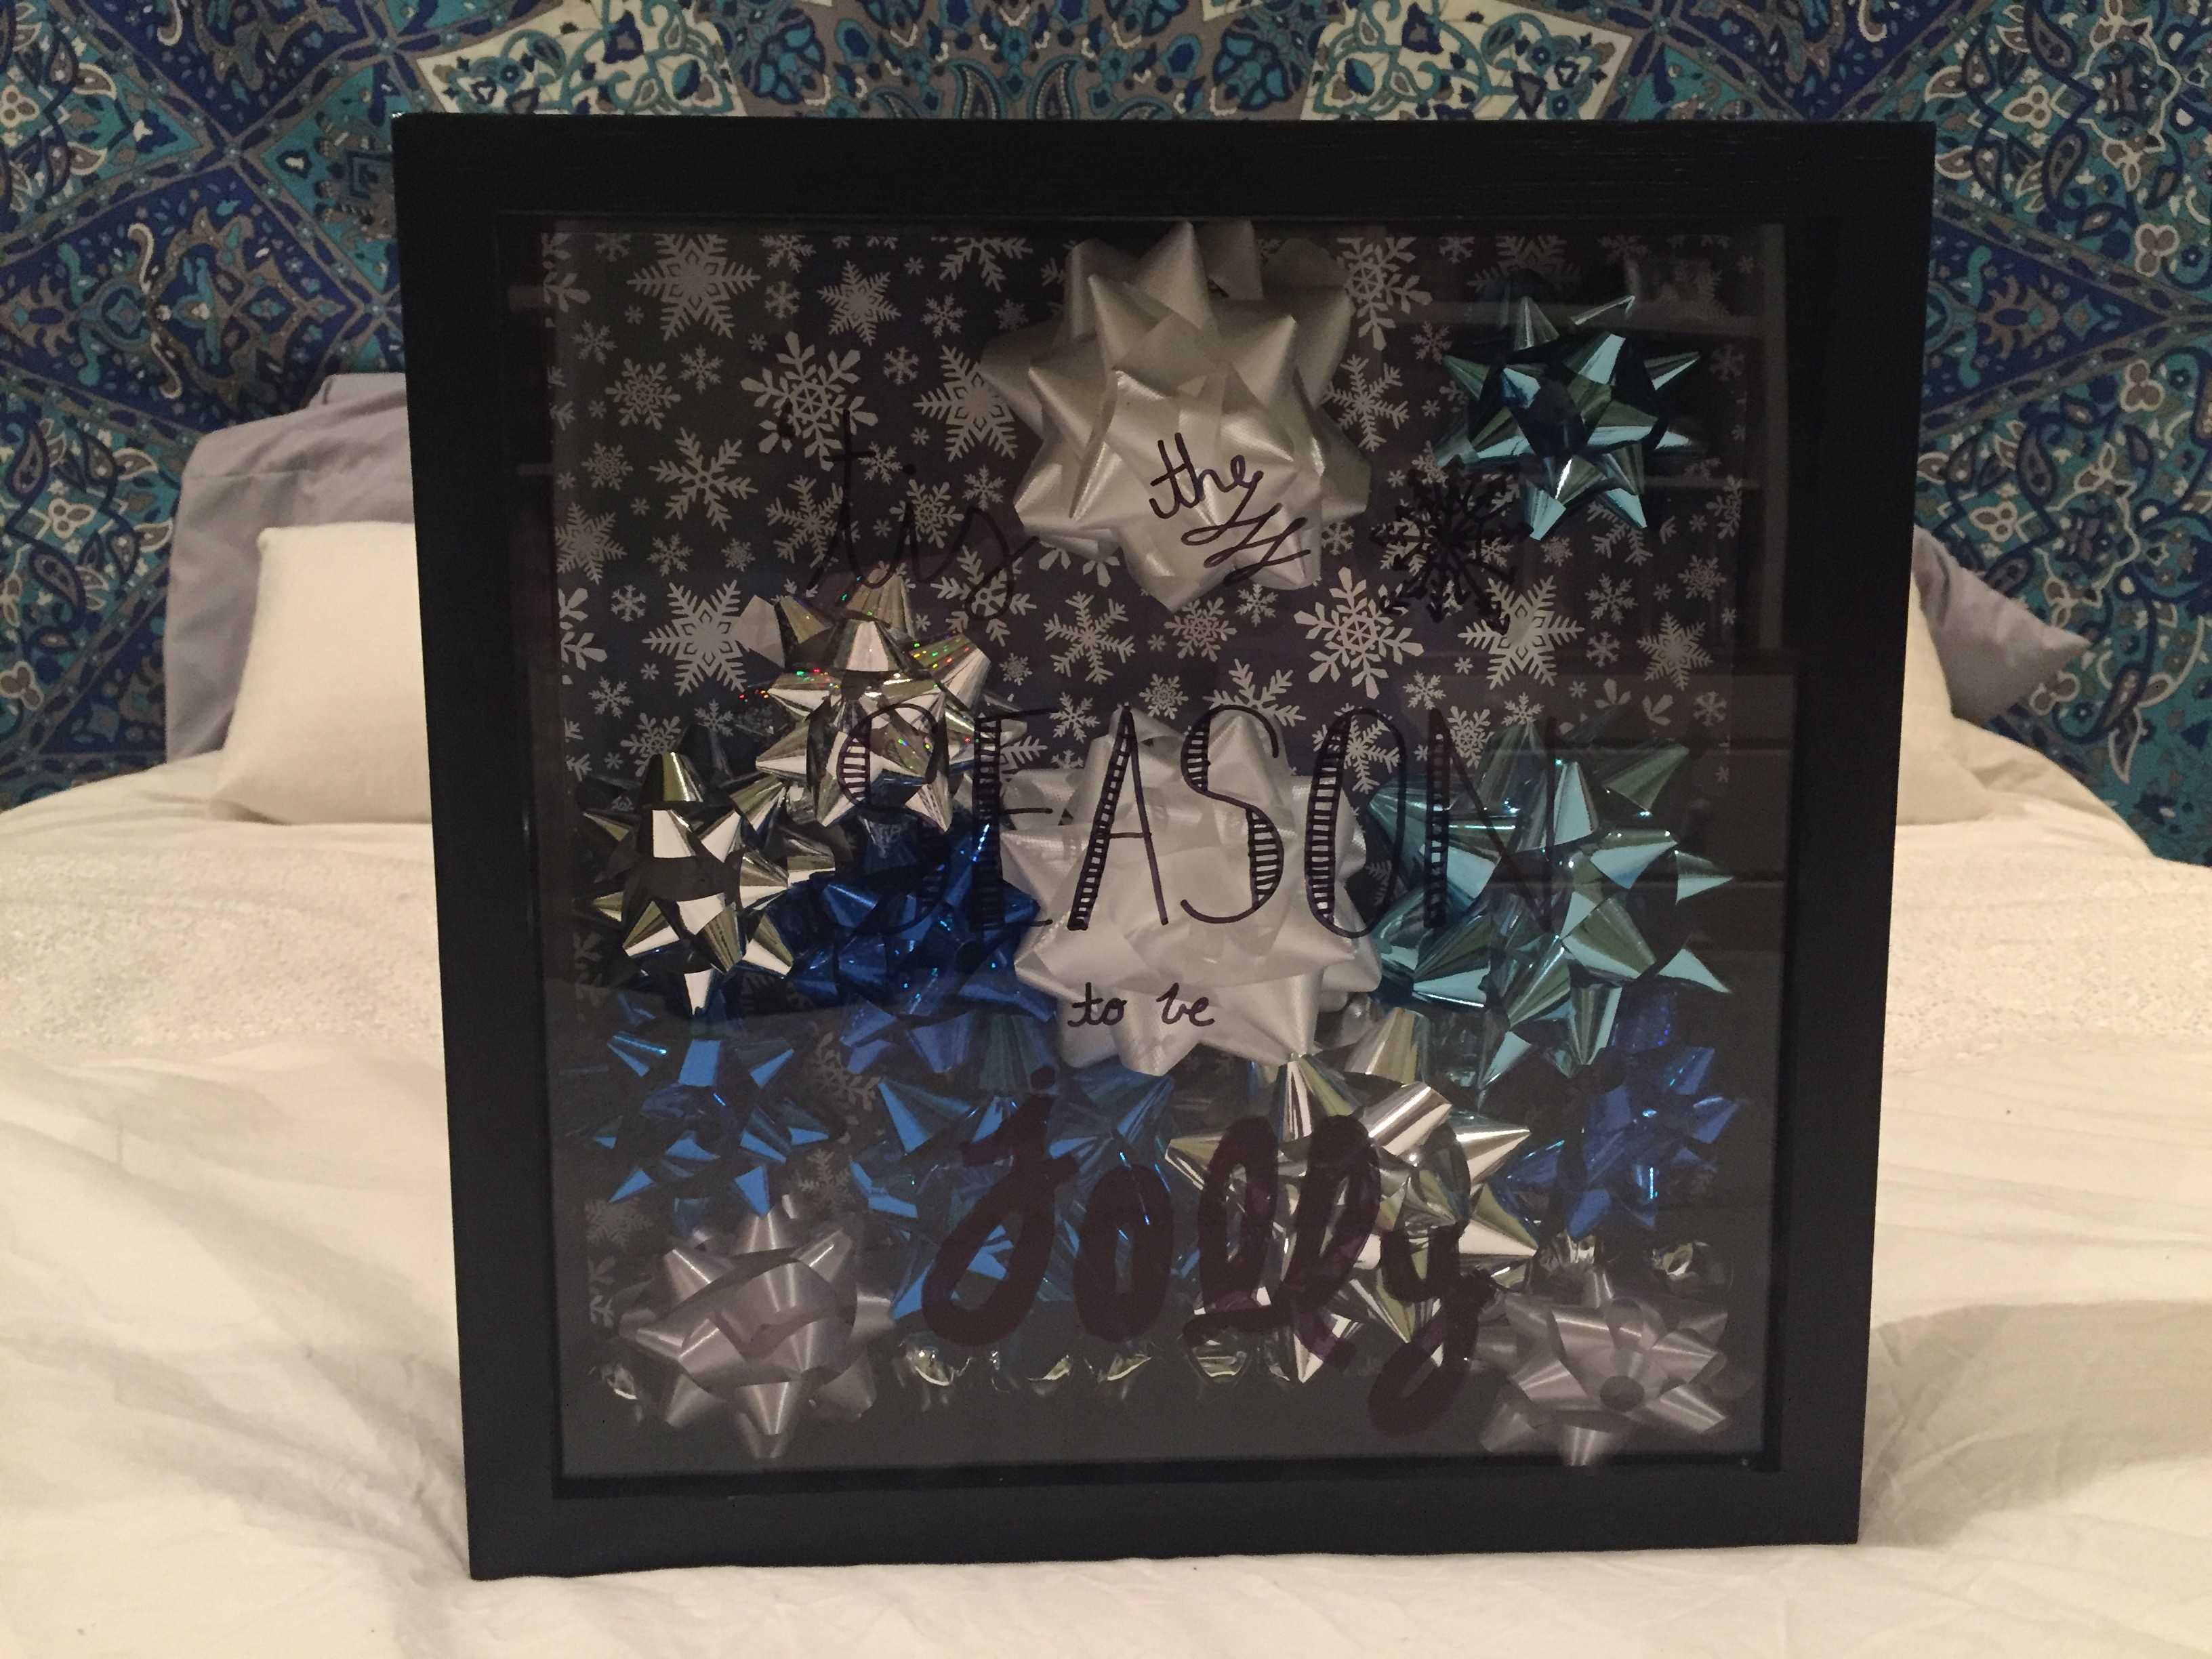
Holiday Shadow Box
What you’ll need:
- Any size shadow box
- 2-3 pieces of scrapbooking paper depending on the size of your shadow box
- Tape
- Sharpie or oil based paint marker
- Decorations of your choice (ribbon, bells, scrapbooking stickers etc.)
- Begin by measuring out your scrapbook paper to fit the back panel of the shadow box
- Cut and tape down the paper to the back panel
- Fill the back panel with your decorations. I chose to add blue and silver bows and bells. You can also stick some of your decorations to the actual scrapbooking paper.
- Put the top of the box on and add a phrase to the front glass with a sharpie or oil based marker.
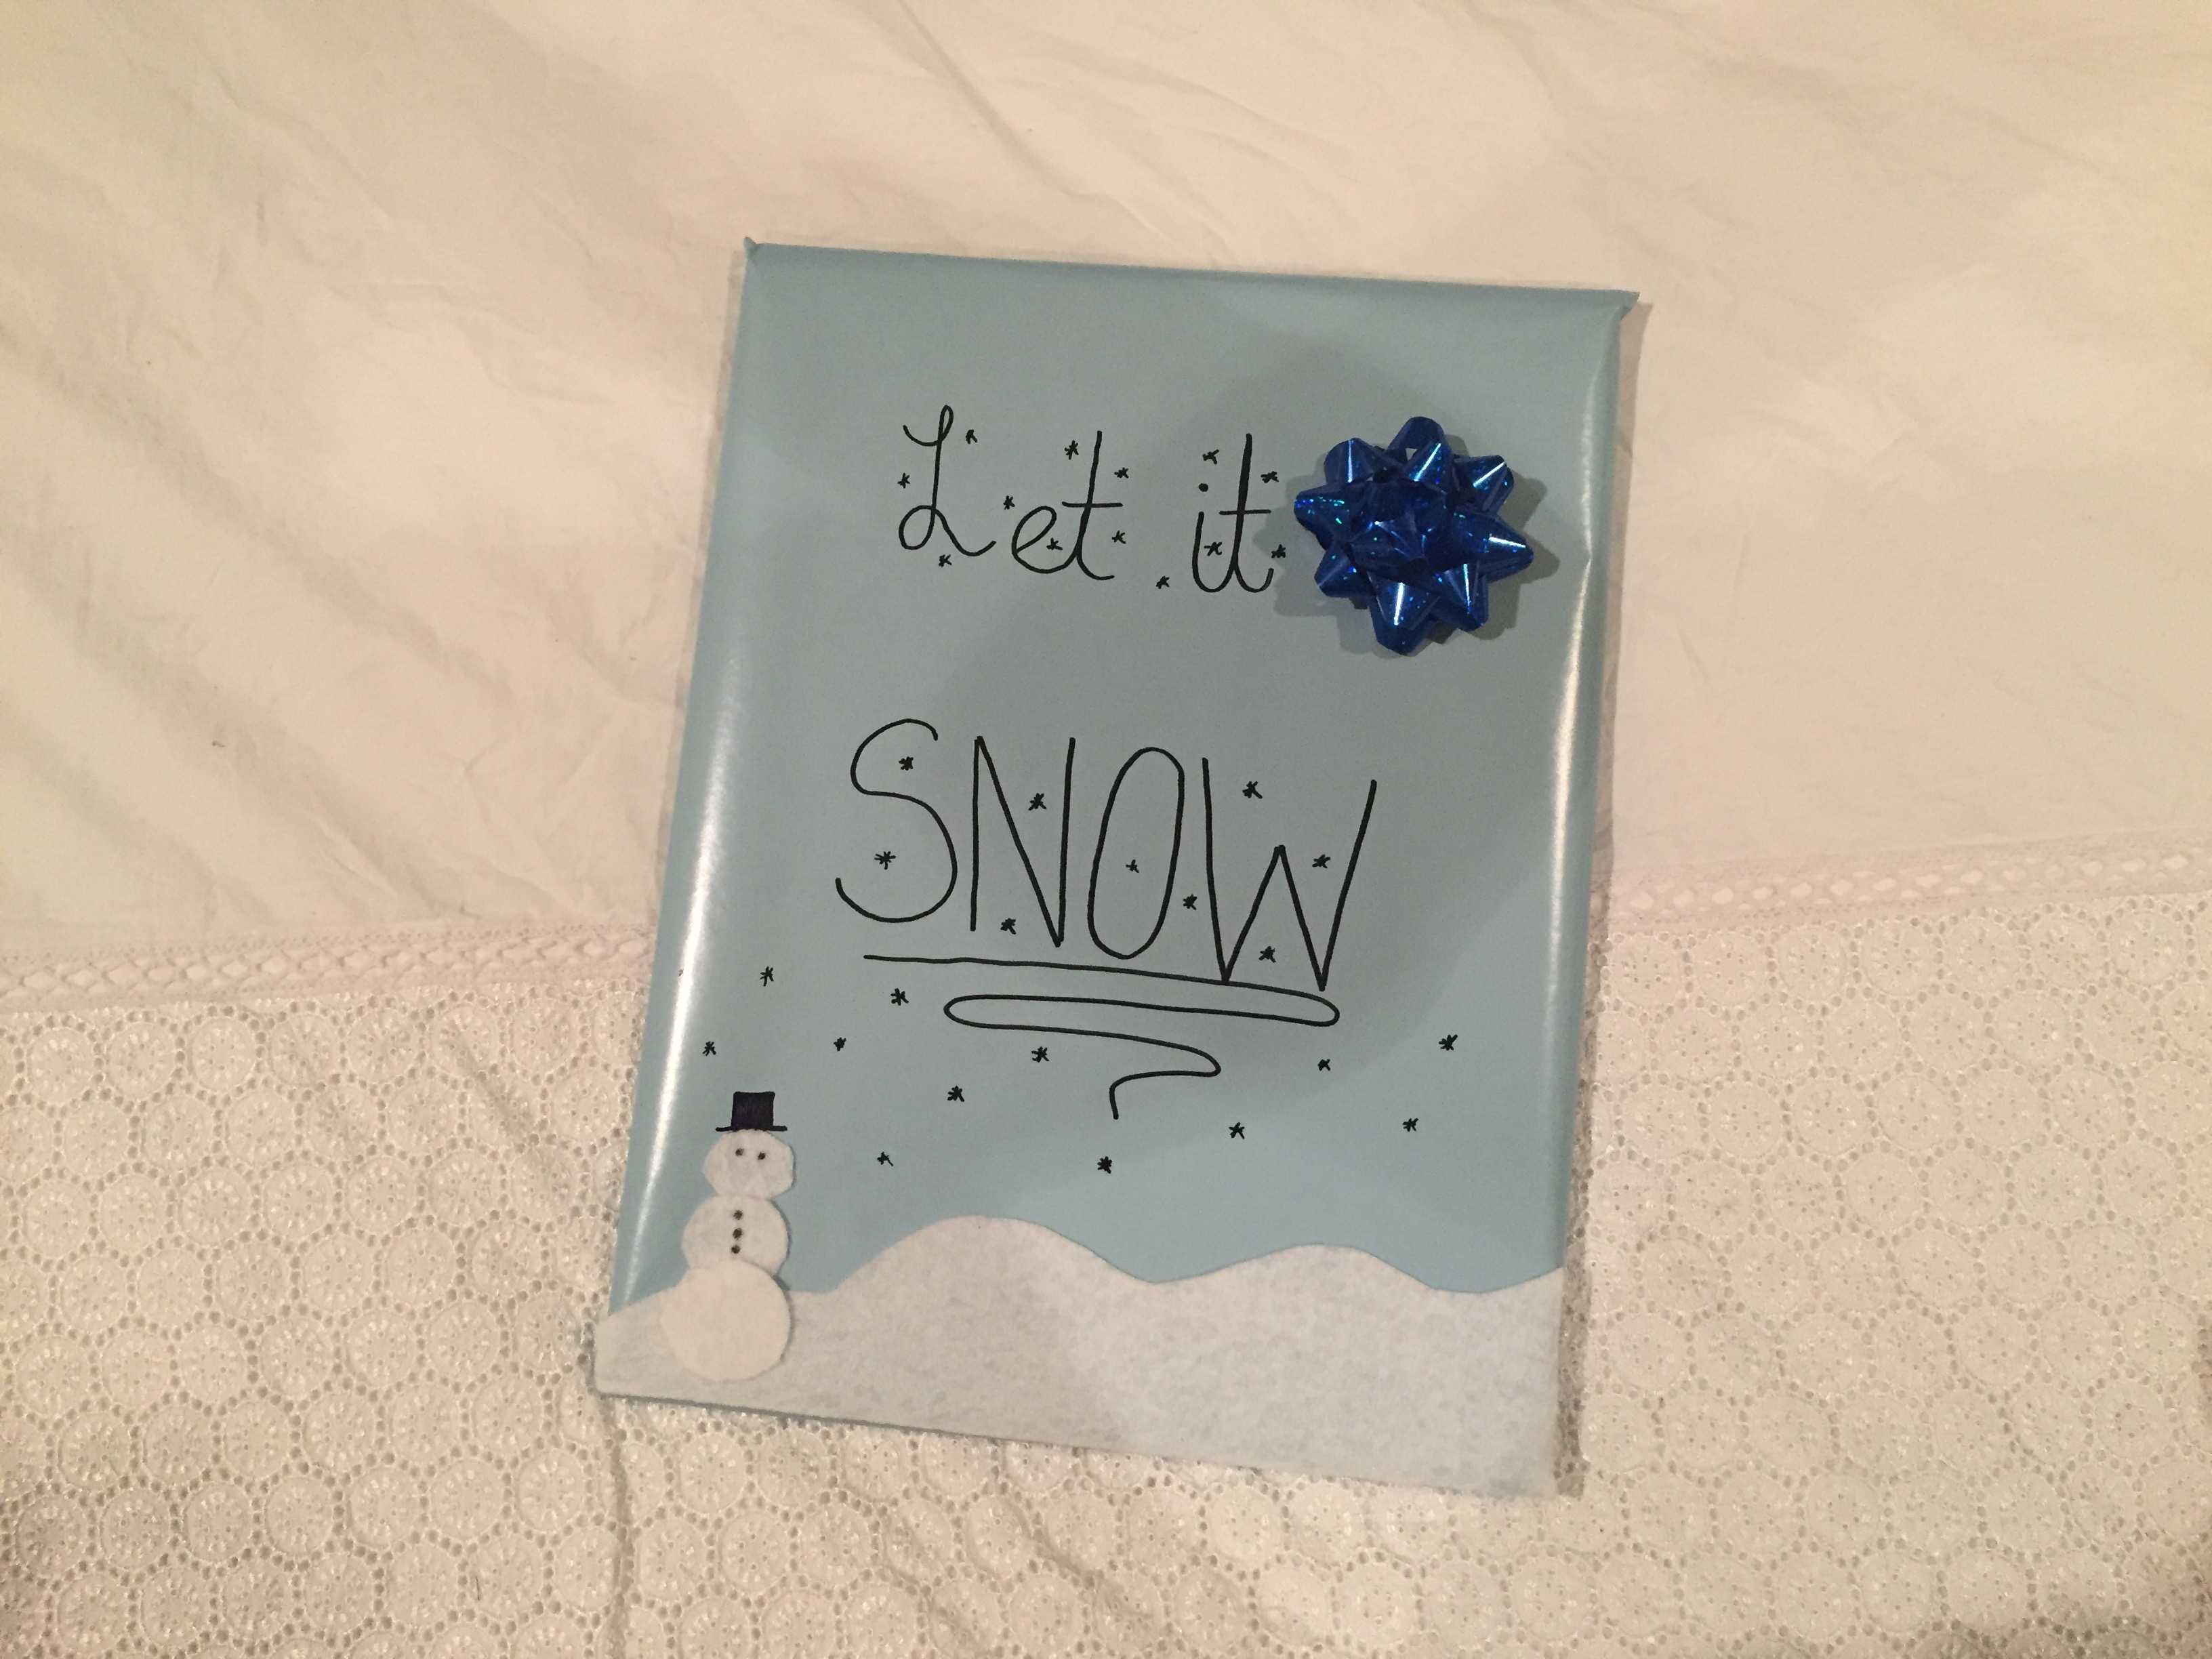
Canvas Quote Art
What you’ll need
- A canvas board of any size
- Wrapping paper
- Tape
- A marker
- White felt with adhesive on the back
- Any extra decorations (a bow, sticks etc.)
- Use wrapping paper and tape to wrap the canvas like a present, tapping the edges to the backside.
- With a marker, write a phrase of your choice. I went with, “Let it Snow”.
- Take your white felt and cut out squiggles to make it look like snow. Then peal of the adhesive and tape it down to the bottom of the canvas.
- Add additional decorations as you wish. I chose to add a snowman made out of the white felt and draw on snowflakes with a marker. I also added a bow.
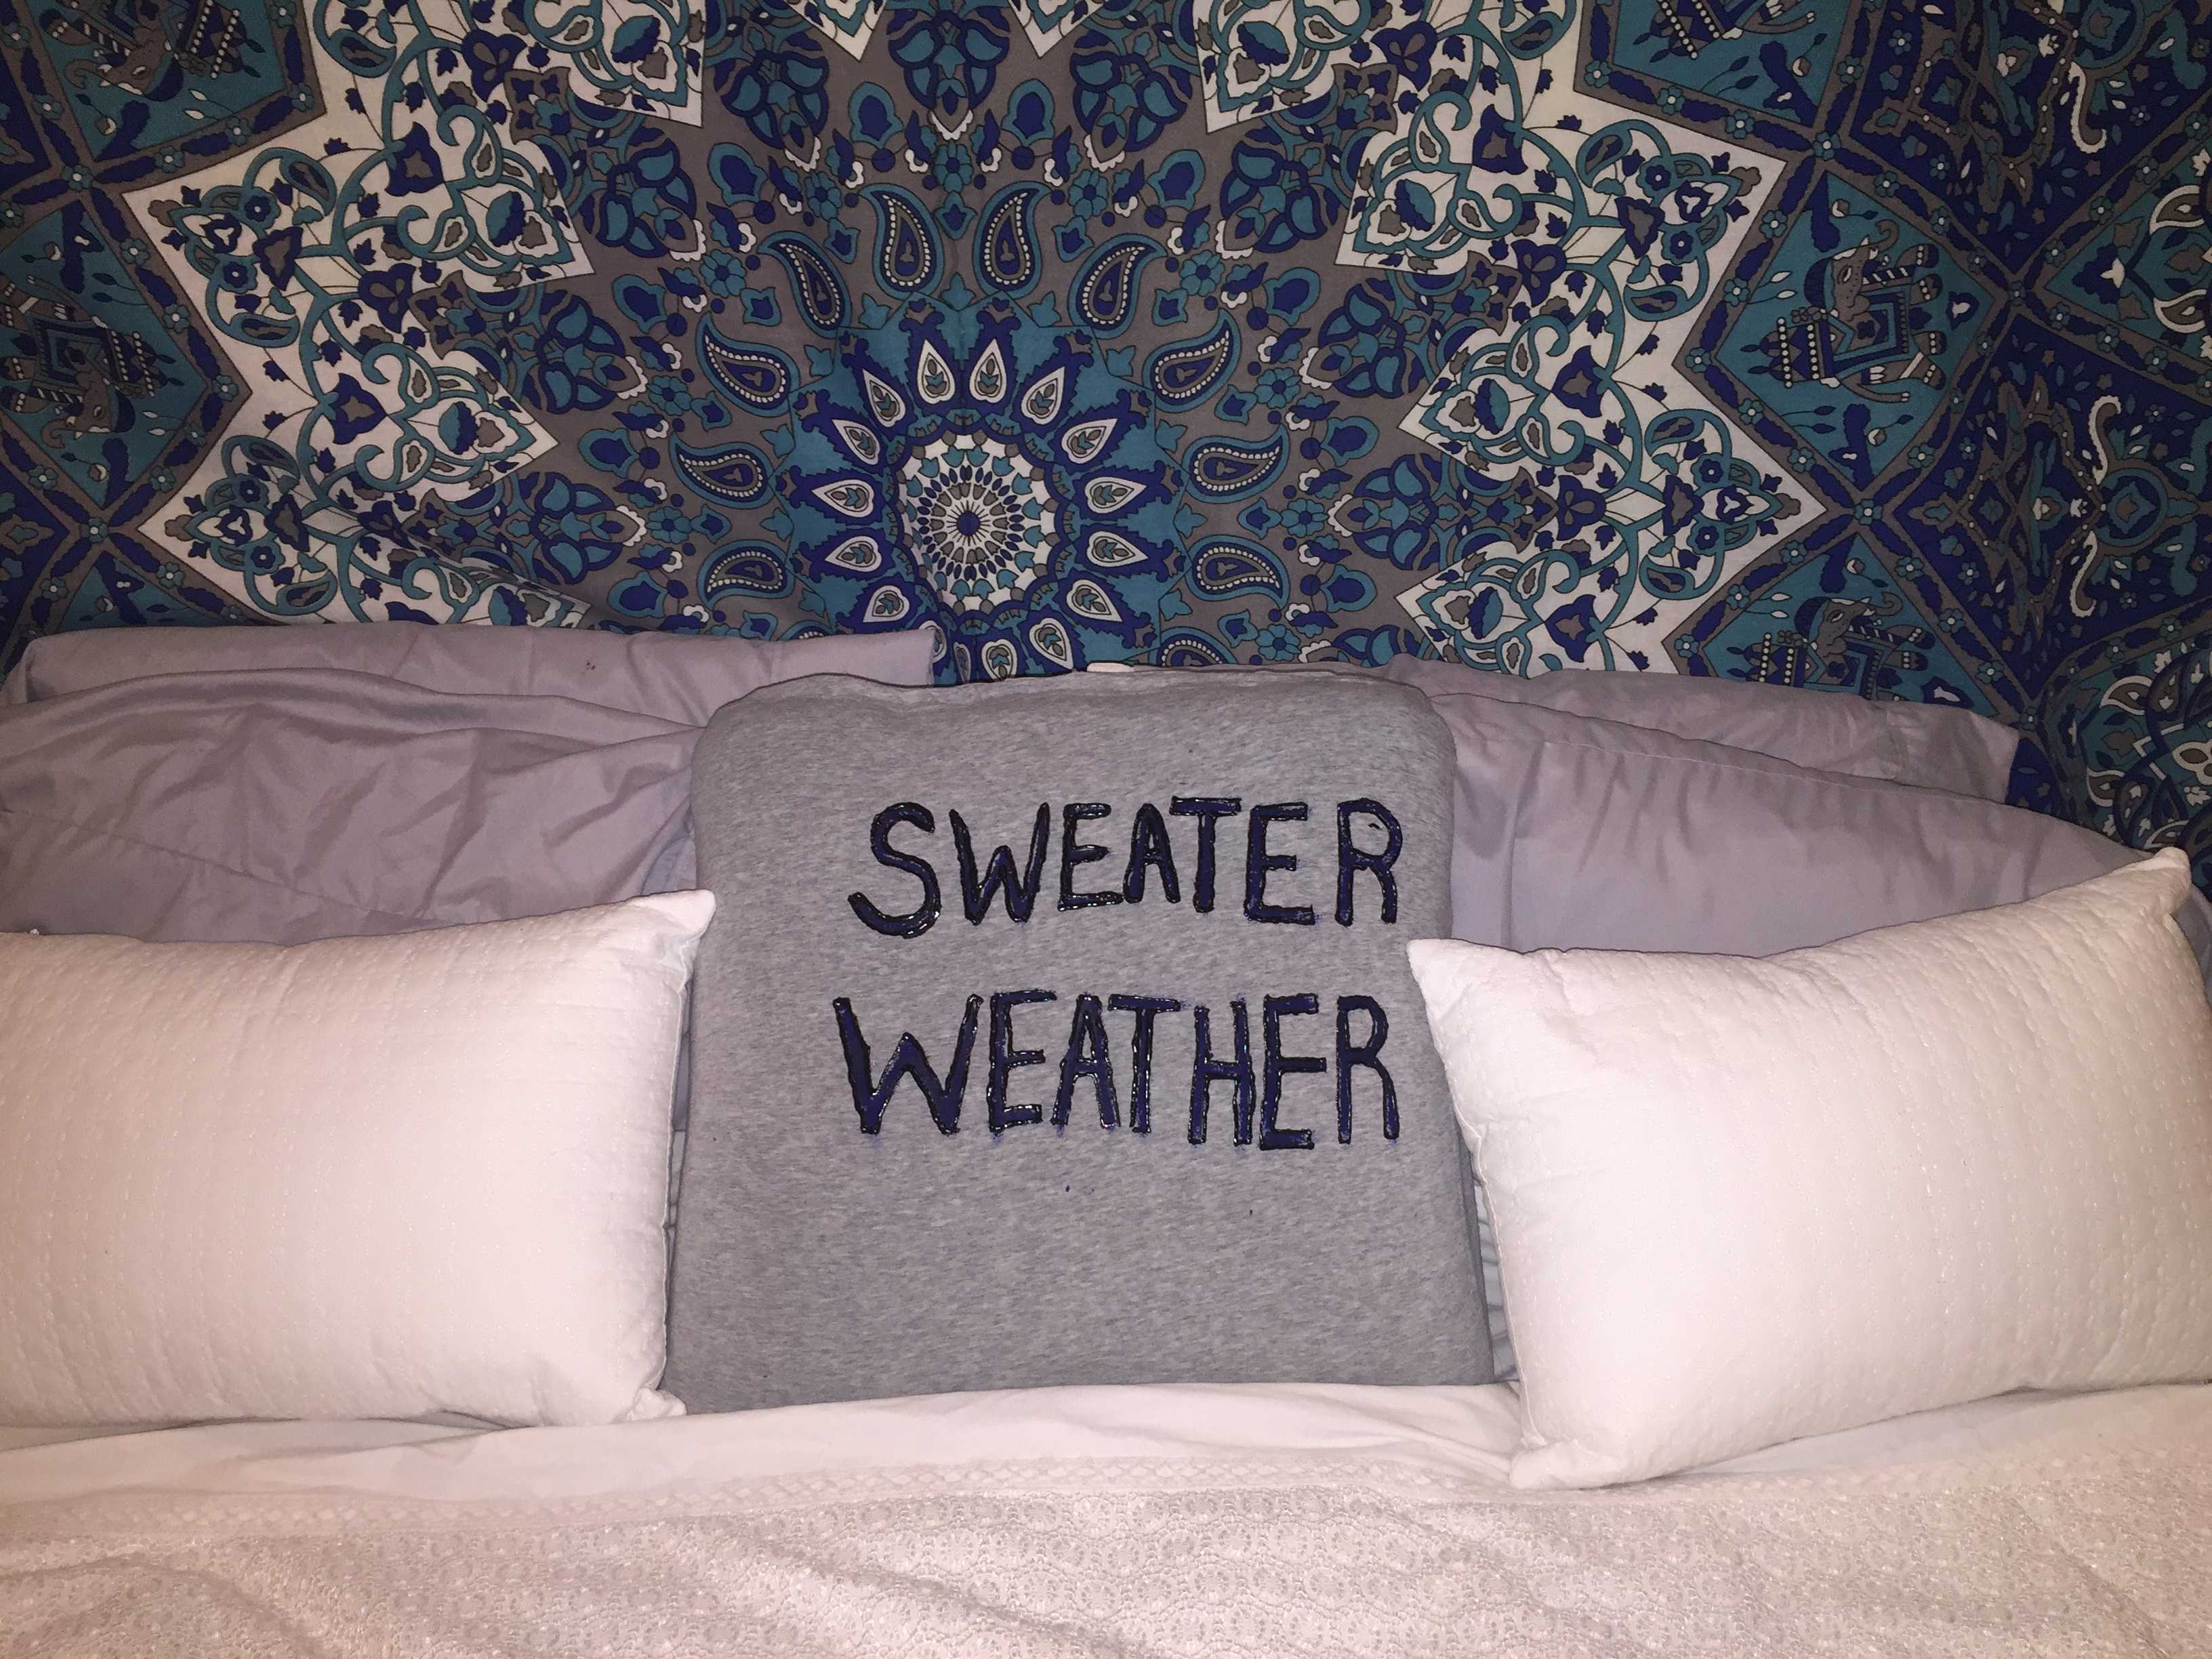
T-Shirt Pillow
What you’ll need:
- A pillow
- An old t-shirt
- A marker
- Hot glue
- Scissors
- Clothing paint
- Paint brushes
- Pull the shirt over the pillow and measure out where the pillow ends on either side.
- Mark the ends of the pillow on the shirt by drawing a line with a marker.
- Remove the pillow and cut along the marks you made.
- Hot glue the edges of one side of the t shirt.
- Re-insert the pillow and hot glue the other edges of the t shirt together.
- Allow the hot glue to set and then begin tracing the design or quote you want on your pillow with a marker.
- Paint over the tracing and allow to dry.
- Add an extra quote if needed.
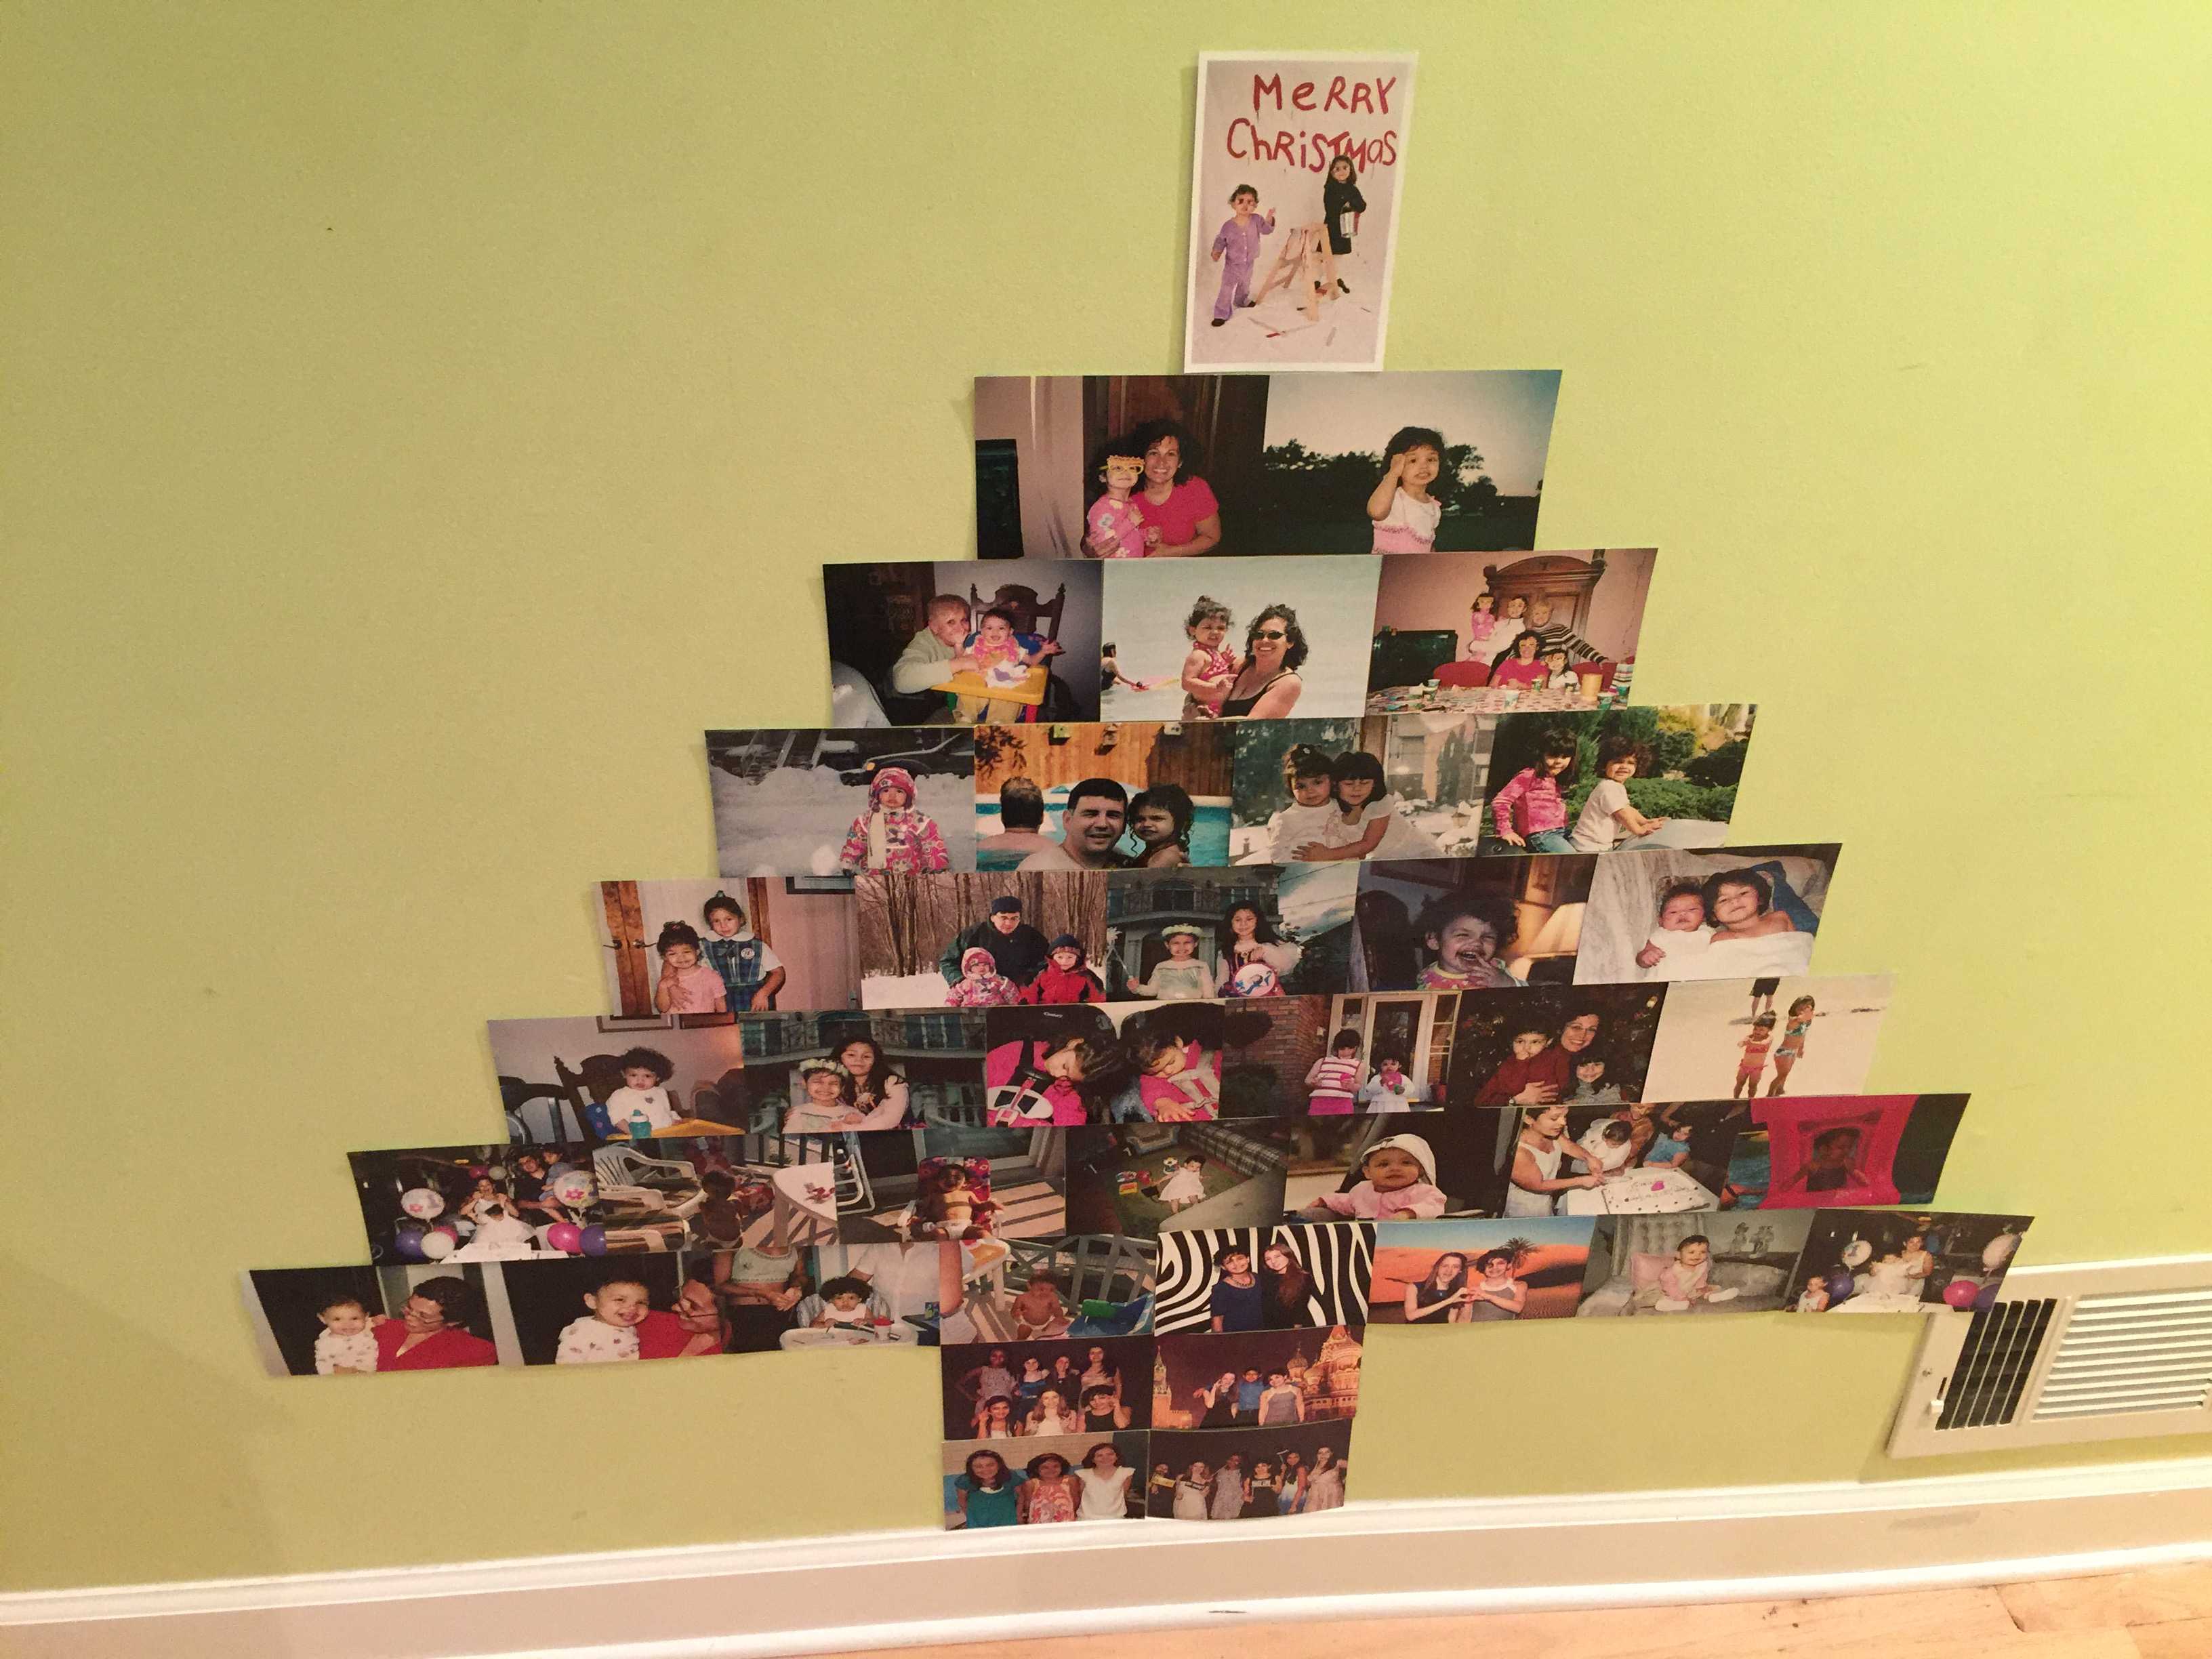
Polaroid Tree
What you’ll need:
- 20-30 pictures or polaroids
- Blue tack
- A bow
- Begin by placing four photos at the base of your wall and attaching them with blue tack.
- From there, create a tree-like pattern going upwards with any photos of your choice.
- Top off your tree with a bow.
Tissue Paper Flowers
What you’ll need:
- Festive tissue paper
- Rubber bands
- String
- Scissors
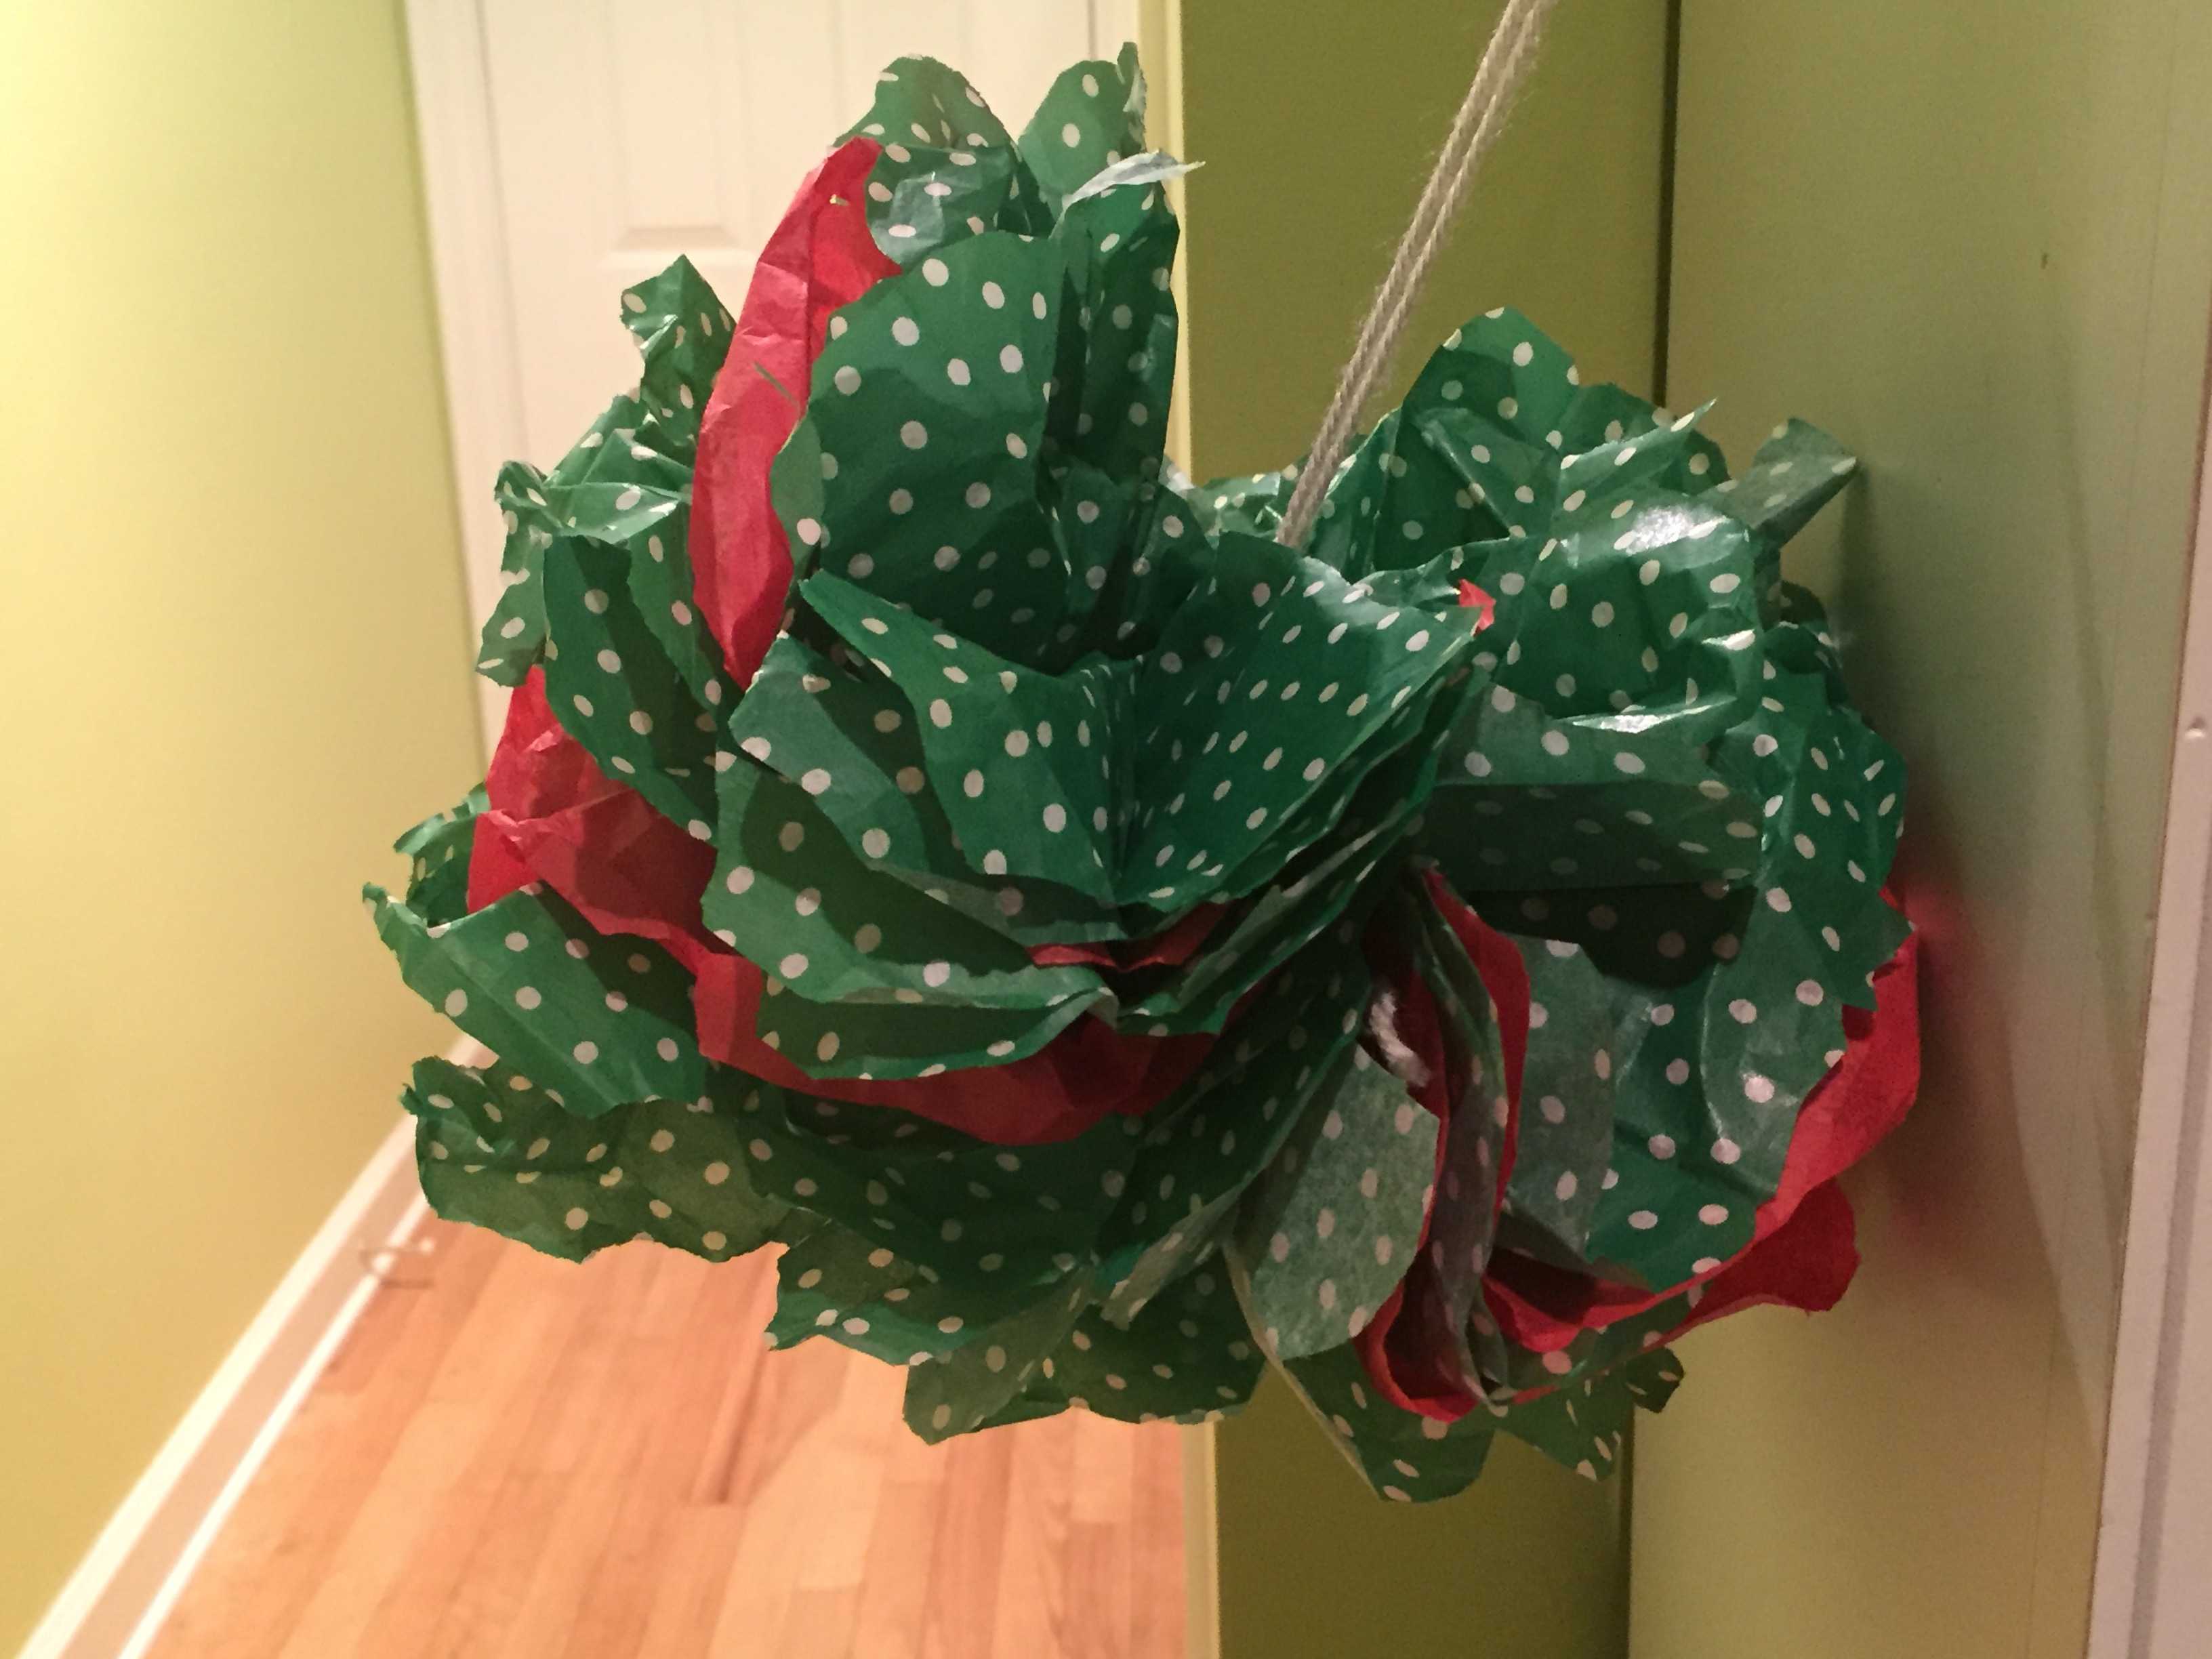
- Stack 5 pieces of tissue paper on top of one another and fold them in an accordian style.
- Wrap a rubber band around the middle of the folded paper and then loop the string around the rubber band and tie a knot.
- Round the sides of the tissue paper using a scissor.
- Layer by layer peel up the tissue paper and you should have a flower that can be hung anywhere around your house.


